Tennis Court Paving | How To
How to Pave a Tennis Court
Introduction
Paving a tennis court is a complex process that requires careful planning and execution. In this article, we will guide you through the step-by-step process of paving a tennis court to ensure a smooth and durable playing surface.
Materials and Tools
- Excavator
- Compactor
- Gravel
- Asphalt
- Tennis net and posts
- Line marking machine
- Tennis court paint
- Trowel
- Roller
Step 1: Site Preparation
Before starting the paving process, ensure that the site is properly prepared. Clear any vegetation, rocks, or debris from the area. Use an excavator to remove the topsoil and create a level surface for the court.
Step 2: Base Construction
The base of the tennis court is crucial for its stability and longevity. Spread a layer of gravel evenly over the excavated area and compact it using a compactor. This will provide a solid foundation for the asphalt layer.
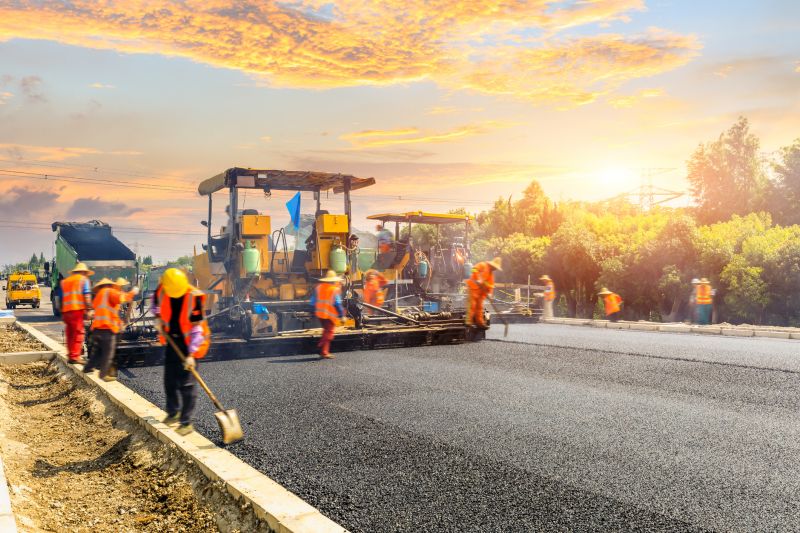
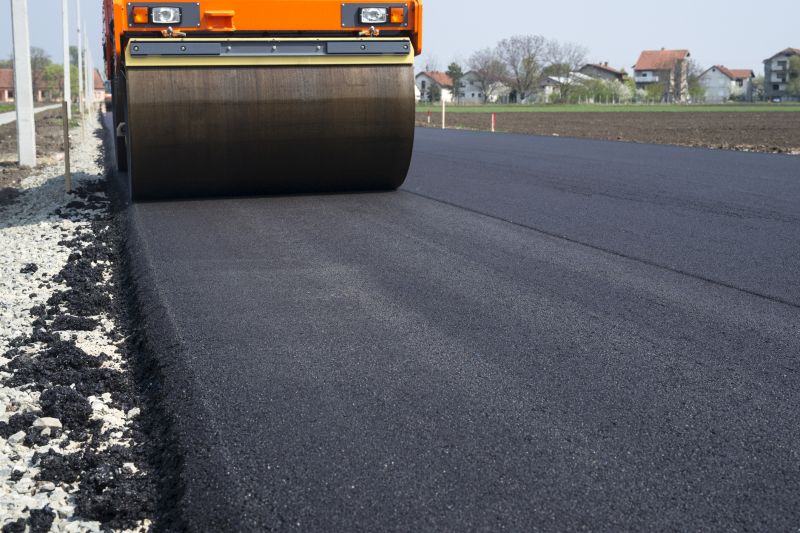
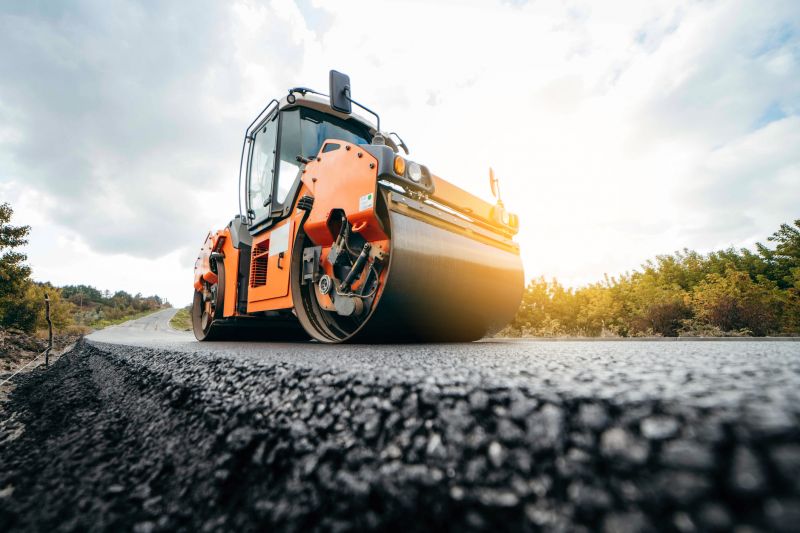
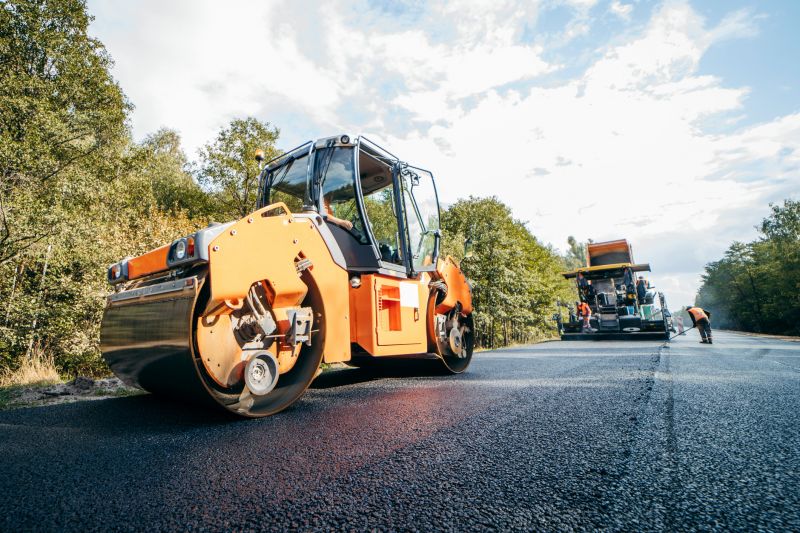
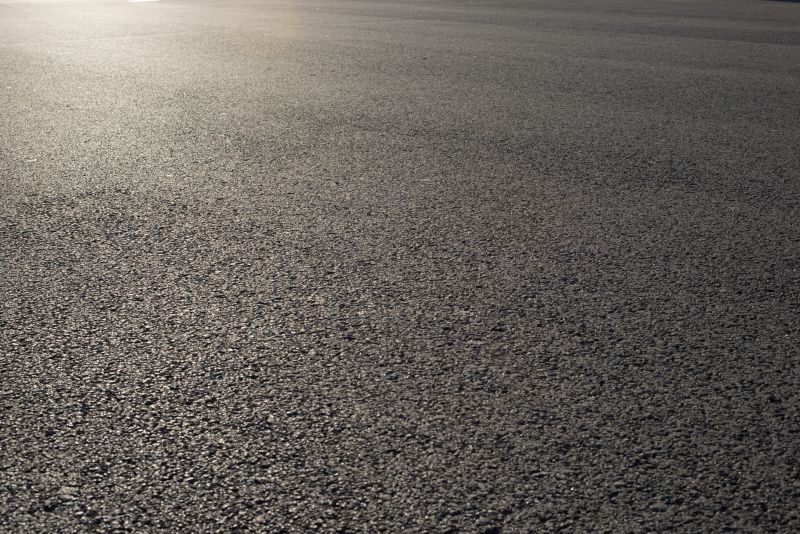
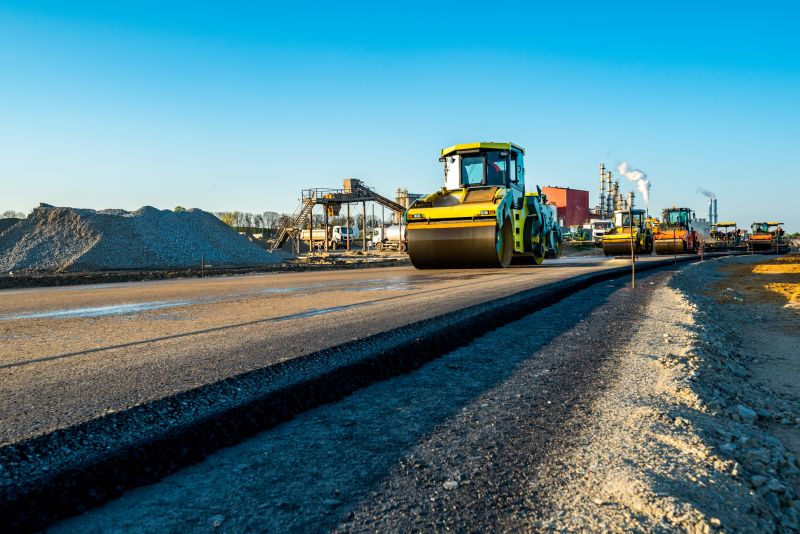
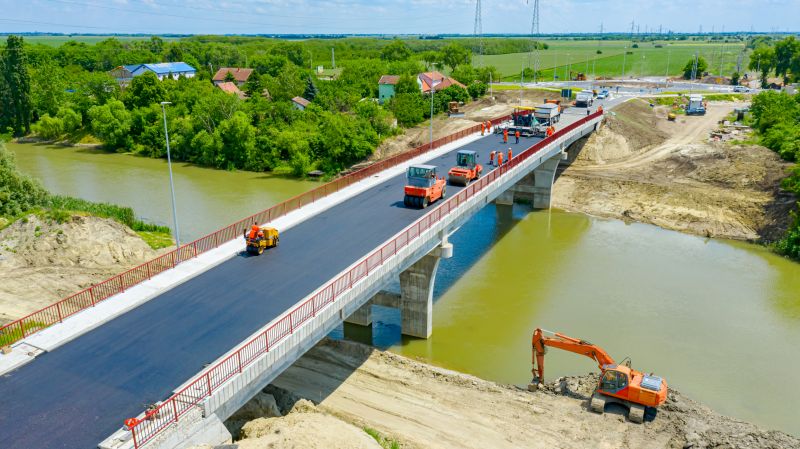
Step 3: Asphalt Paving
Apply a layer of asphalt over the compacted gravel base. Use a paving machine to ensure a smooth and even surface. Compact the asphalt using a roller to achieve the desired thickness and stability.
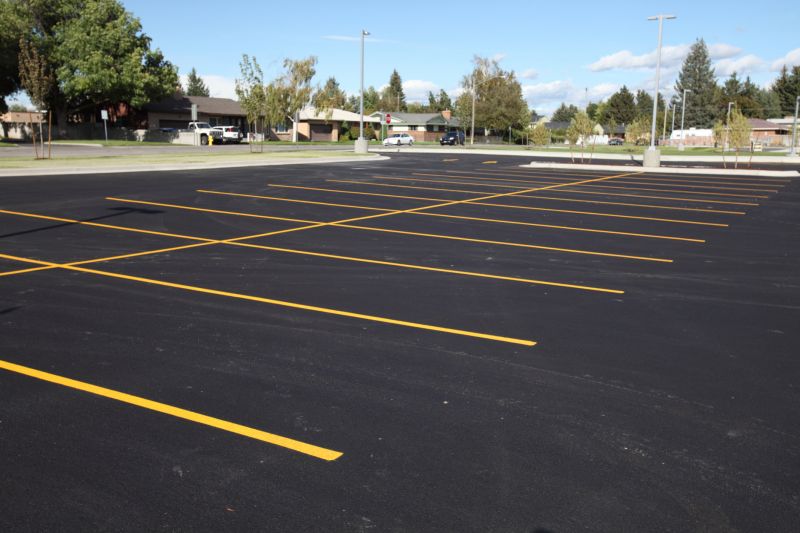
Step 4: Line Marking
Once the asphalt has cooled and hardened, use a line marking machine to create the boundary lines and markings for the tennis court. Follow the official regulations for the dimensions and placement of the lines.
Step 5: Surface Finishing
Apply a layer of tennis court paint to enhance the playing surface and provide better visibility. Use a trowel to fill any cracks or imperfections in the asphalt. Allow the paint to dry completely before using the court.
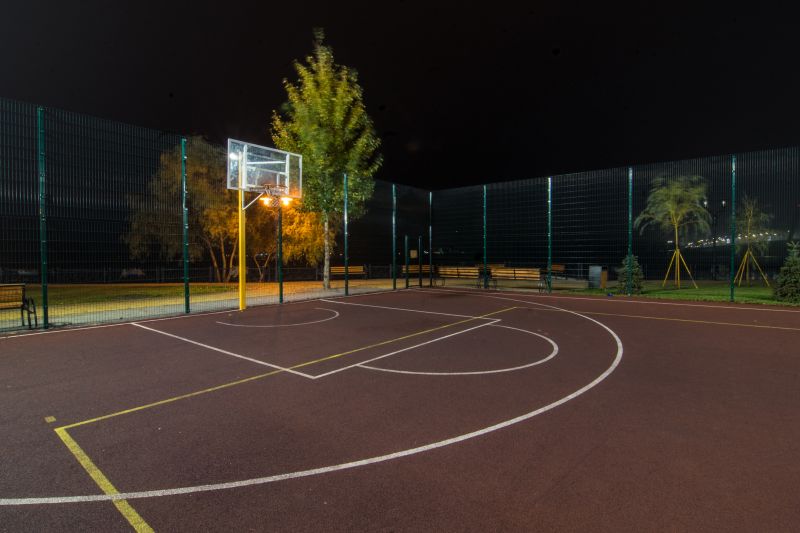
Step 6: Install Net and Posts
Finally, install the tennis net and posts according to the manufacturer's instructions. Ensure that the net is properly tensioned and the posts are securely anchored to the ground.
Conclusion
Paving a tennis court requires careful planning and attention to detail. By following these steps, you can create a high-quality tennis court that will provide years of enjoyment for players. Remember to regularly maintain and repair the court to ensure its longevity.