Step 1: Prepare the Bridge Surface
Before starting the paving process, the bridge surface needs to be prepared. This involves cleaning any debris, removing loose materials, and ensuring the surface is smooth and level. Use a broom and pressure washer, if necessary, to clean the surface thoroughly.
Step 2: Apply a Bonding Agent
Once the bridge surface is clean and dry, apply a bonding agent to enhance the adhesion between the existing surface and the new pavement. Follow the manufacturer's instructions for the specific bonding agent being used. Use a roller or sprayer to apply the bonding agent evenly.
Step 3: Mix and Apply Asphalt or Concrete
Depending on the project requirements, mix the asphalt or concrete according to the specifications. Ensure the mixture is well-prepared and of the right consistency. Begin applying the mixture on the bridge surface, starting from one end and working towards the other. Use a paving machine or hand tools to spread and level the material evenly.
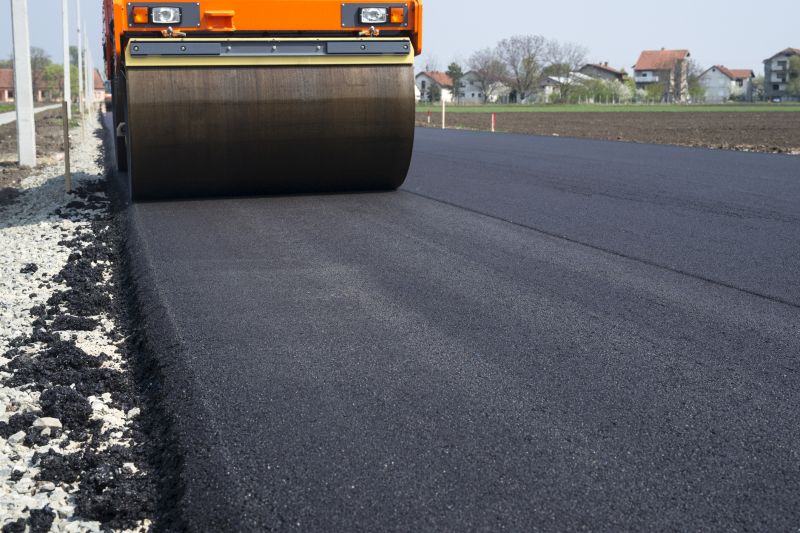
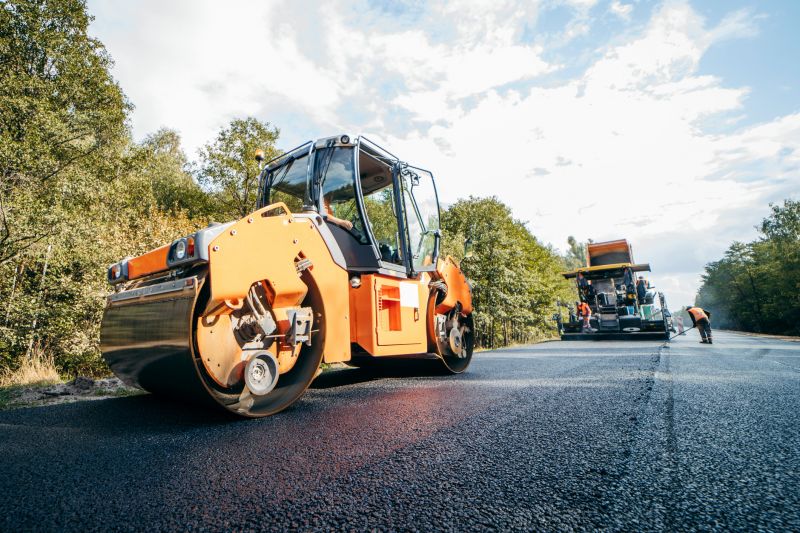
Step 4: Compact the Paving Material
After the asphalt or concrete has been applied, use a compactor or roller to compact the material. This helps to eliminate air pockets, improve the overall strength, and create a smooth surface. Pay special attention to the edges and corners to ensure proper compaction.
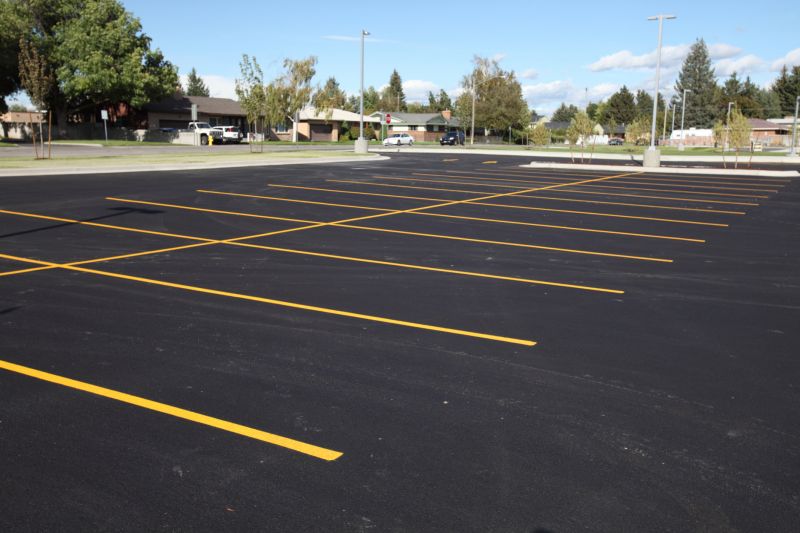
Step 5: Cure and Finish
Allow the newly paved bridge surface to cure for the recommended time, typically 24 to 48 hours. During this period, protect the area from traffic and other disturbances. Once the curing is complete, inspect the surface for any imperfections or unevenness. If necessary, perform any finishing touches, such as applying a sealant or additional layers of pavement.
Step 6: Clean Up
Finally, clean up the work area by removing any leftover materials, tools, and equipment. Dispose of waste materials properly and leave the bridge site in a clean and safe condition.