Introduction
Paving a golf cart path can greatly enhance the aesthetics and functionality of your golf course. Follow these step-by-step instructions to ensure a smooth and durable path for golf carts to traverse.
Materials Needed
- Golf cart path pavers
- Base material (gravel or crushed stone)
- Edge restraints
- Compactor
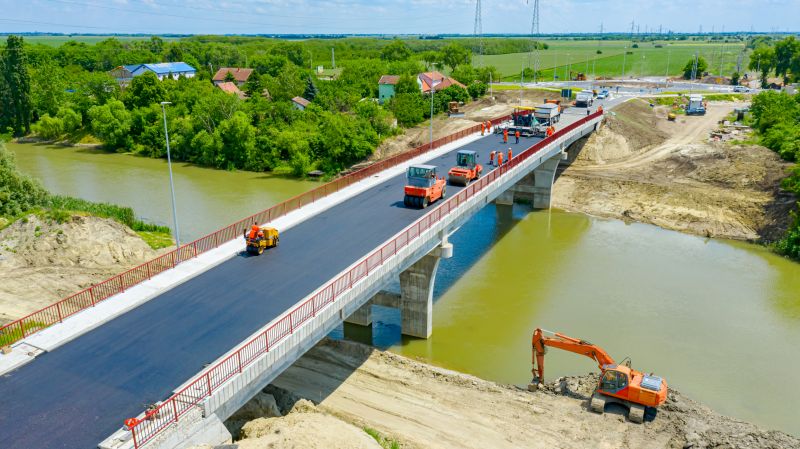
- Paving equipment (asphalt or concrete)
- Leveling tools
- Safety gear (gloves, safety glasses, etc.)
Step 1: Planning and Preparation
Before starting the paving process, carefully plan the layout of the golf cart path. Take into consideration any existing structures, slopes, and drainage requirements. Clear the area of any vegetation, rocks, or debris that may hinder the paving process.
Step 2: Excavation
Use excavation equipment to remove the top layer of soil and create a uniform subgrade for the path. Ensure that the path is wide enough to accommodate golf carts comfortably.
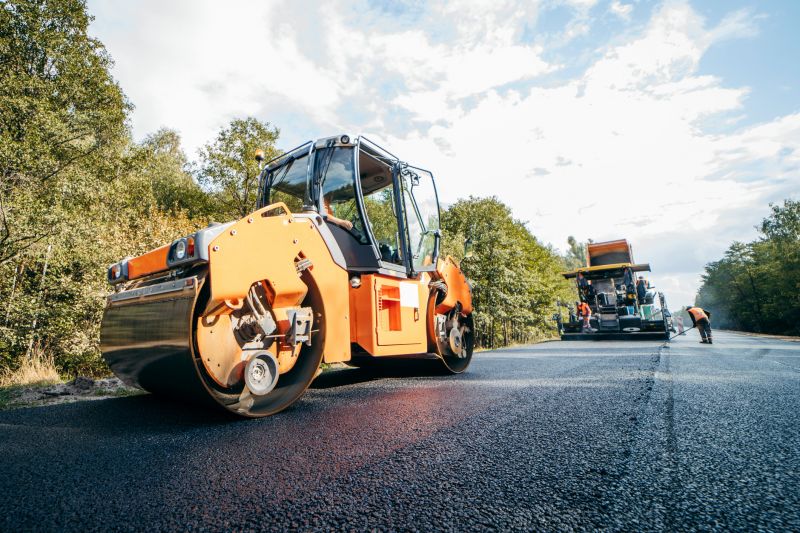
Step 3: Base Preparation
Spread a layer of base material (gravel or crushed stone) evenly over the excavated area. Use a compactor to compact the base material and create a stable foundation for the path.
Step 4: Edge Restraints
Install edge restraints along the sides of the path to prevent the pavers from shifting. This can be done using concrete curbs, plastic or metal edging, or any other suitable material.
Step 5: Paver Installation
Lay the golf cart path pavers on top of the compacted base material, starting from one end and working your way to the other. Ensure that the pavers are aligned properly and maintain a consistent level throughout the path.
Step 6: Joint Sand
Fill the gaps between the pavers with joint sand. This will stabilize the pavers and prevent weed growth. Use a broom to sweep the sand into the joints and ensure it is evenly distributed.
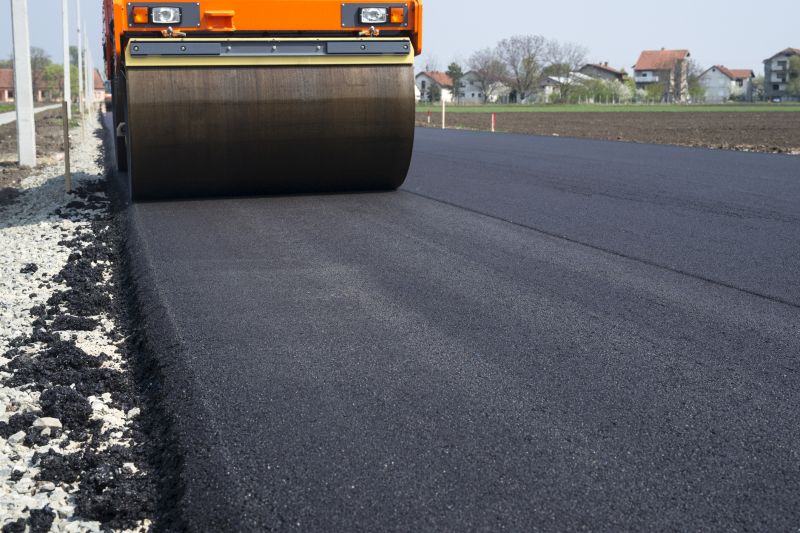
Step 7: Compaction
Use a compactor to gently compact the pavers and settle them into place. This will create a solid and level surface for the golf carts to travel on.
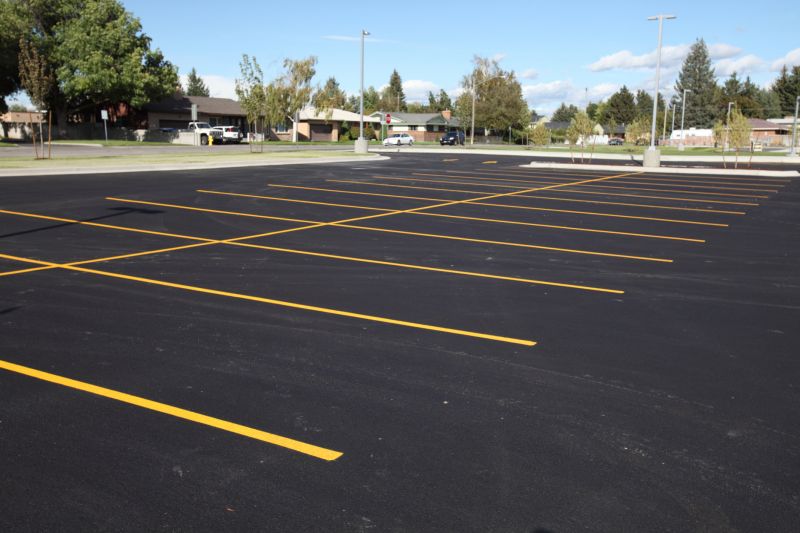
Step 8: Finishing Touches
Inspect the paved golf cart path for any unevenness or gaps. Make necessary adjustments and ensure that the path is safe and smooth. Clean up any excess materials and debris from the site.
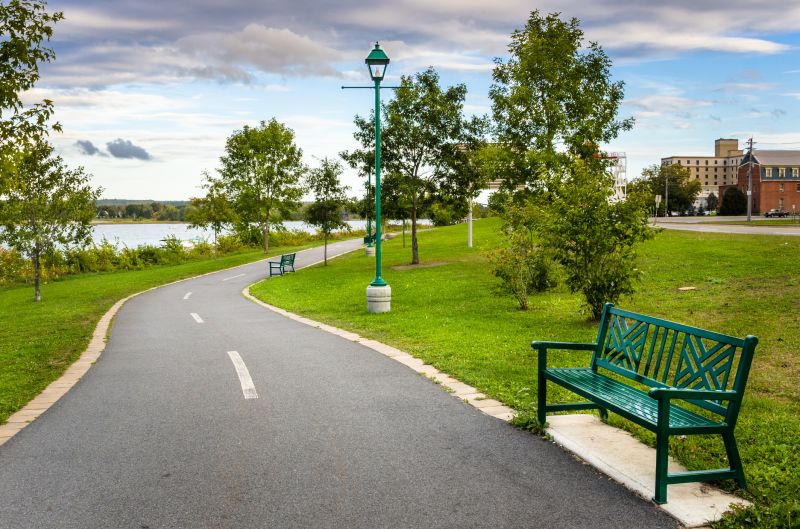
Conclusion
By following these steps, you can successfully pave a golf cart path that will enhance the overall experience for golfers. Regular maintenance and upkeep will ensure the longevity of the path and provide a safe and enjoyable ride for years to come.