School Playground Paving | How To
How to Do School Playground Paving
Step 1: Prepare the Playground Area
Start by clearing the playground area of any debris, rocks, or other obstructions. Use a rake or shovel to level the ground and remove any existing grass or weeds.
Step 2: Measure and Mark the Playground
Measure the dimensions of the playground area and mark it using stakes and string. This will help you visualize the space and ensure accurate paving.
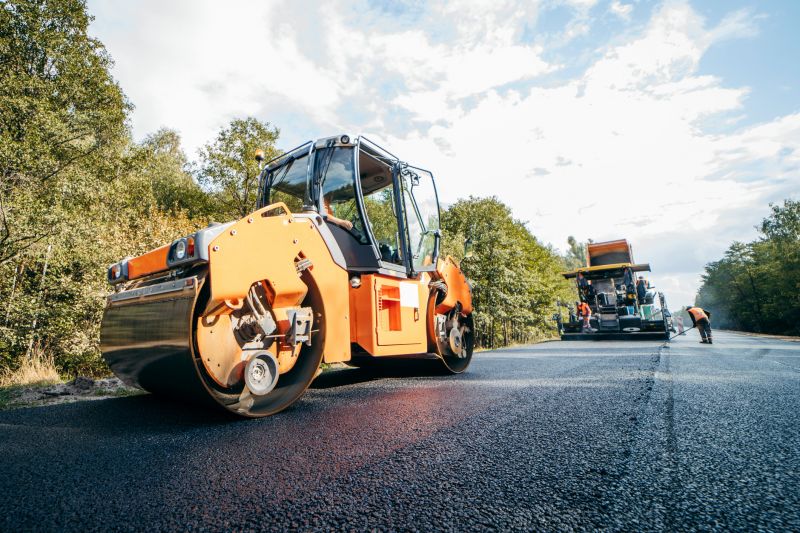
Step 3: Excavate the Area
Use a mini excavator or shovel to dig out the playground area to a depth of at least 6 inches. This will provide enough space for the base and paving material.
Step 4: Compact the Base
Use a plate compactor or hand tamper to compact the soil in the excavated area. This will create a stable and even base for the paving.
Step 5: Install a Geotextile Fabric
Lay a geotextile fabric over the compacted soil to prevent weed growth and improve drainage. Trim the fabric to fit the playground area and secure it with landscape staples.
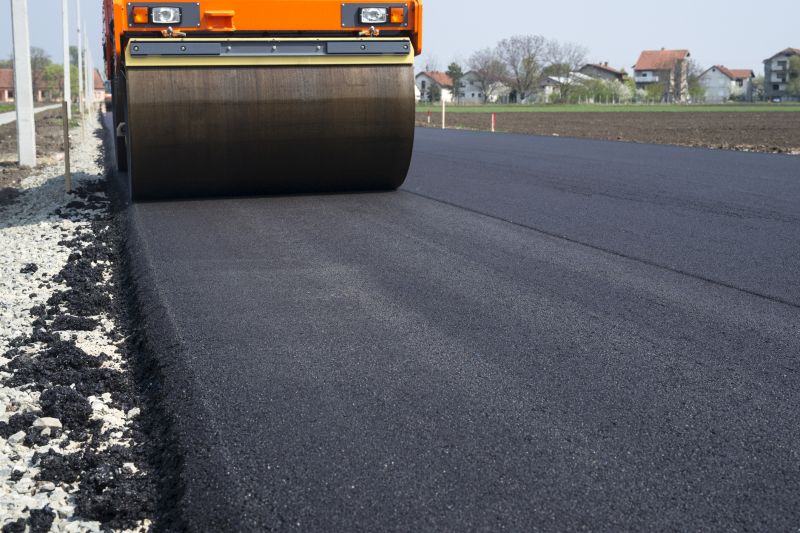
Step 6: Add Base Material
Pour a layer of crushed stone or gravel over the geotextile fabric. Spread and level the base material using a rake or shovel. Compact the base using a plate compactor to ensure stability.
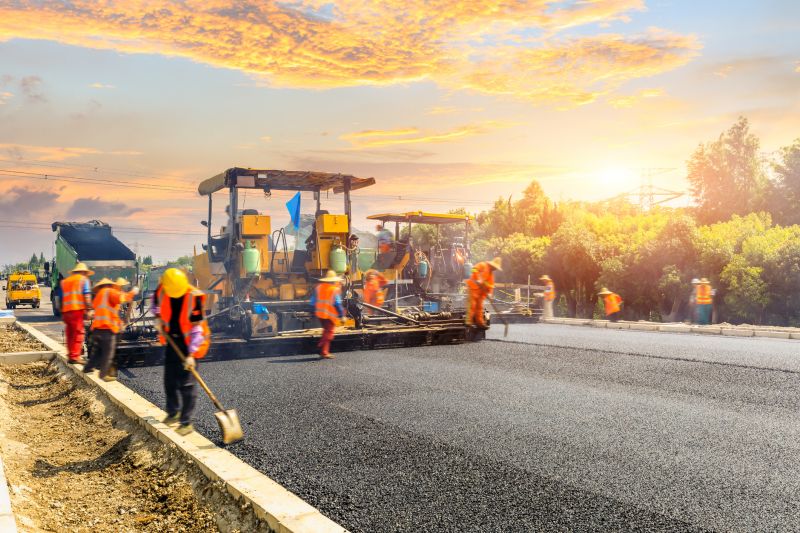
Step 7: Lay the Paving Material
Choose a suitable paving material such as interlocking pavers or rubber tiles. Start at one corner of the playground and lay the pavers or tiles according to the manufacturer's instructions. Use a rubber mallet to ensure they are properly aligned and leveled.
Step 8: Fill the Joints
If using interlocking pavers, fill the joints with fine sand or polymeric sand. Sweep the sand into the joints and compact it with a plate compactor or hand tamper. This will stabilize the pavers and prevent weed growth.
Step 9: Clean and Inspect
Remove any excess sand or debris from the paved area using a broom or leaf blower. Inspect the playground paving for any uneven or loose pavers, and make necessary adjustments or repairs.
Step 10: Apply Sealant (Optional)
If desired, apply a sealant to the paved surface to enhance its durability and appearance. Follow the manufacturer's instructions for the specific sealant product.
By following these steps, you can successfully pave a school playground, creating a safe and attractive outdoor space for children to enjoy.